EN
EN  JA
JA 
Introduction
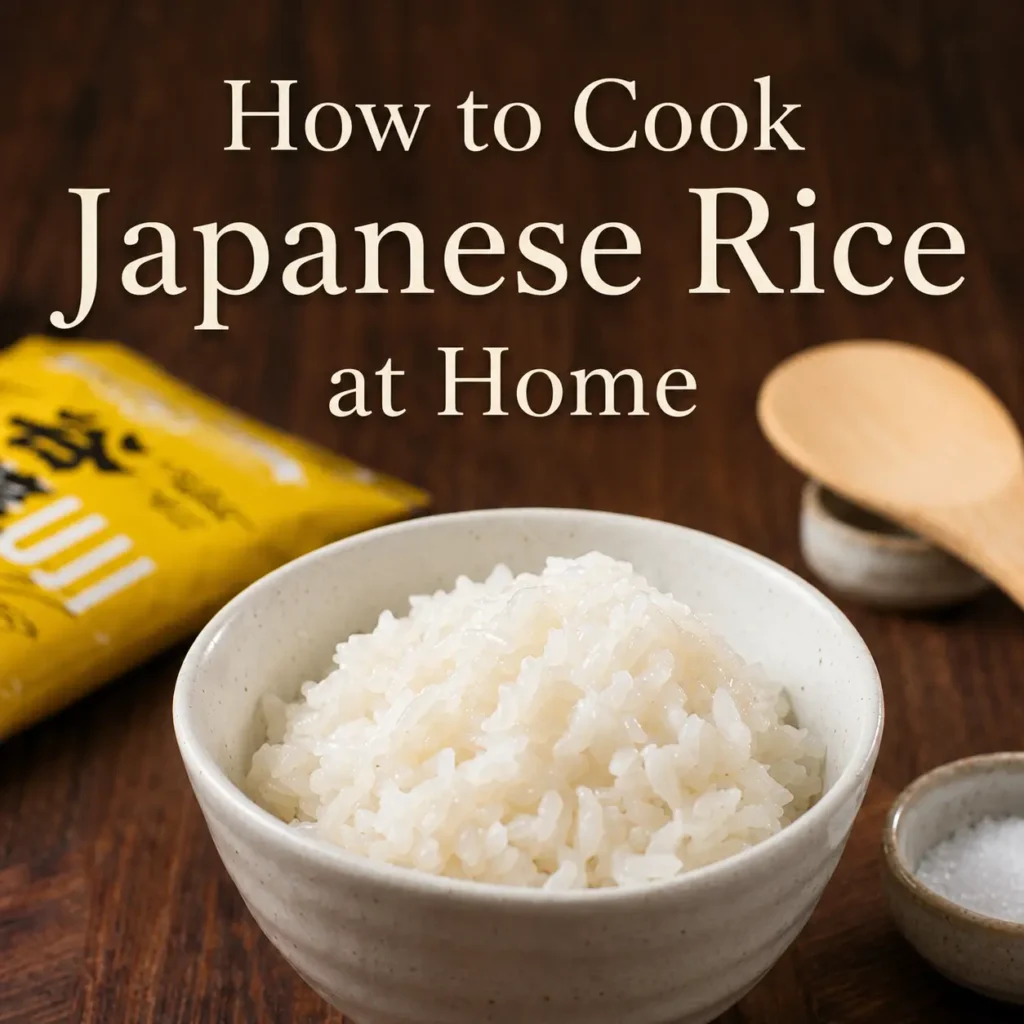
Rice is the heart of Japanese cuisine. From sushi and rice bowls to simple home-cooked meals, almost every Japanese meal includes a bowl of freshly cooked rice. If you’ve only cooked basmati or other long-grain rice before, Japanese rice may feel different at first. The good news is that it’s easy to prepare once you understand a few simple steps. This guide explains everything you need to know to cook authentic Japanese rice in an Indian kitchen.
What Makes Japanese Rice Different?
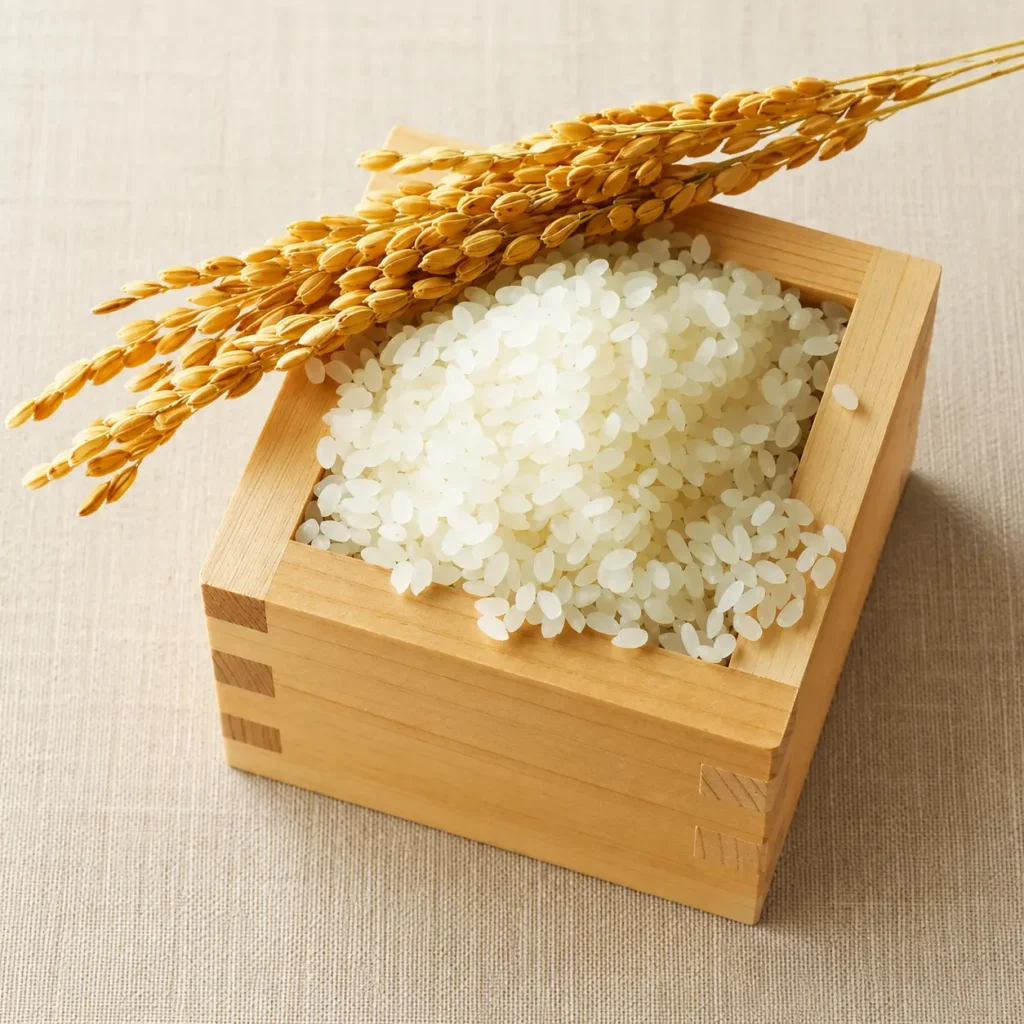
Japanese rice is a short-grain rice that becomes soft, slightly sticky, and glossy after cooking. Unlike basmati rice, the grains stay together, making it easy to eat with chopsticks.
Japanese rice is commonly served with:
- Grilled fish
- Teriyaki chicken
- Japanese curry
- Donburi (rice bowls)
- Onigiri (rice balls)
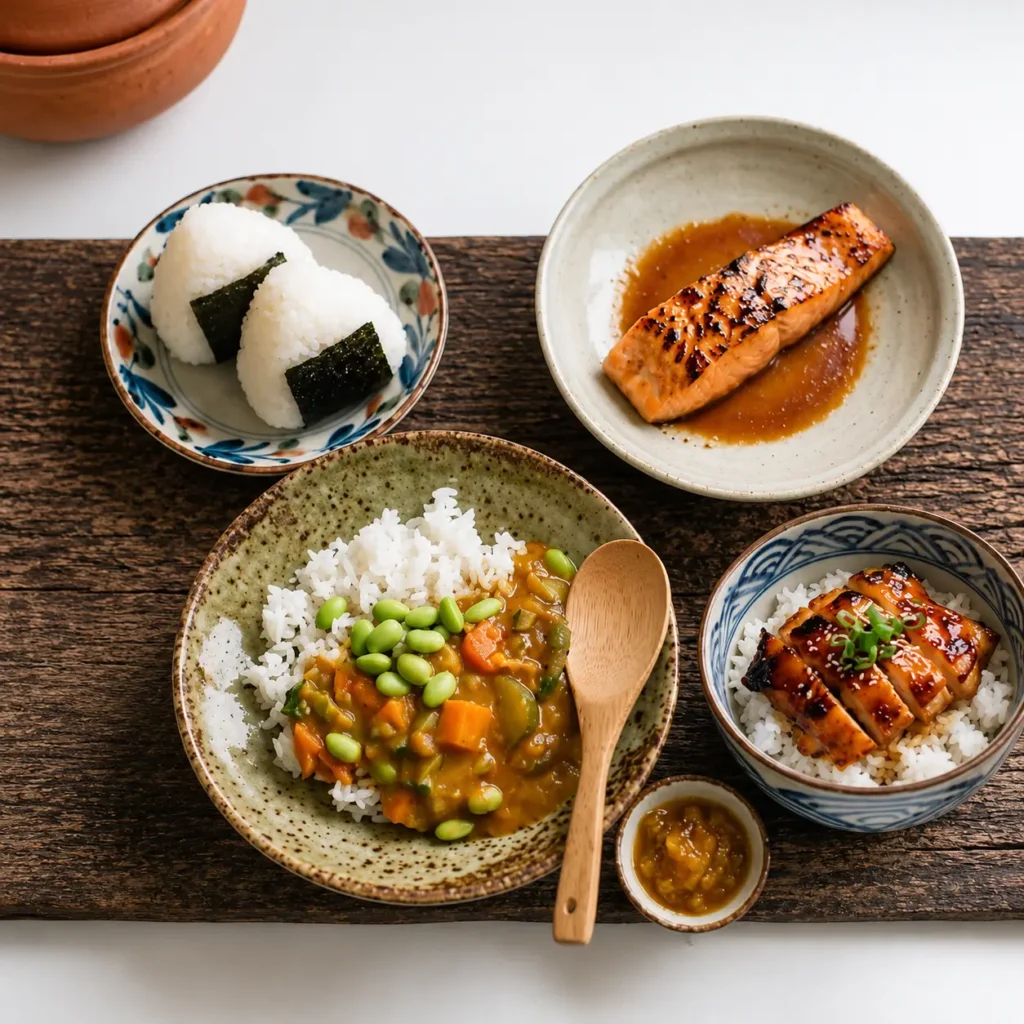
It is also the foundation for sushi, although sushi rice requires additional seasoning after cooking.
What Products Do I Need?
To cook Japanese rice, you only need a few basic items.
Essential Ingredients
- Japanese short-grain rice
- Clean drinking water
- Heavy-bottom pot with a tight-fitting lid (or pressure cooker)
Optional Equipment
- Rice cooker
- Measuring cup
- Fine mesh strainer or bowl for washing rice
How to Prepare Japanese Rice in an Indian Kitchen
Whether you own a rice cooker or not, both methods work well.
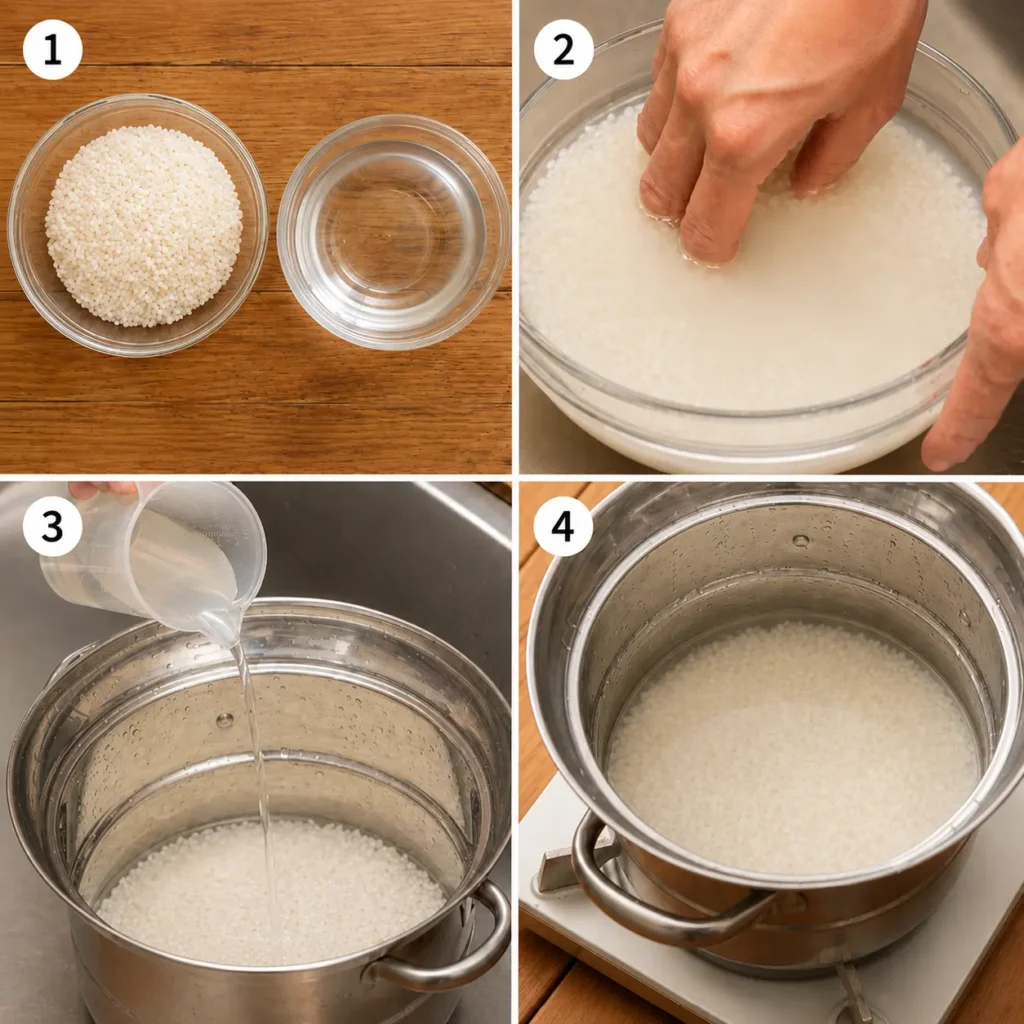
Step 1: Measure the Rice
Measure out 1 cup (approx. 150g) of Japanese short-grain rice.
Different rice brands may recommend slightly different water amounts, so always check the package instructions.
Step 2: Wash the Rice
This is one of the most important steps.
Place the rice in a bowl and add water.
Swirl the rice gently with your hand, then pour the cloudy water away.
Repeat this process about 3 to 5 times until the water becomes mostly clear.
Why?
Washing removes excess surface starch and helps produce fluffy, glossy rice instead of overly sticky rice.
Step 3: Add Water
After washing the rice, measure 1.1 to 1.2 cups of water for every cup of original dry rice and add it to the washed rice.
Step 4: Cook the Rice
Option 1: Rice Cooker
Simply add the washed rice and water.
Press the cook button.
Let the cooker finish naturally.
Option 2: Cooking in a Pot
- Before placing the pot on the burner, ensure it is centered, then set to medium heat (medium heat is sufficient for 2–3 cups).
- Wait until you hear the pot boiling or see foam bubbling over.
- Once boiling is confirmed, cook on medium heat for 2 minutes.
- After 2 minutes, reduce the heat slightly and cook for 3 minutes.
- Reduce to the lowest heat and cook for an additional 5–7 minutes (total time is roughly 10–12 minutes).
Avoid opening the lid while cooking.
Step 5: Fluff the Rice
Use a rice paddle or spoon.
Gently fold the rice from the bottom upward.
This releases extra steam and helps every grain stay soft without becoming mushy.
Common Mistakes to Avoid
Many beginners make the same mistakes.
Skipping the Washing Step
Rice may become too sticky or have a powdery taste.
Using Too Much Water
Japanese rice should be soft but not watery.
More water does not mean better rice.
Stirring During Cooking
Avoid mixing the rice while it cooks.
This can break the grains and affect the texture.
Opening the Lid Too Early
Steam is essential for evenly cooked rice.
Wait until the resting time is complete.
How to Store Japanese Rice in Indian Weather
India’s warm climate means cooked rice should not be left at room temperature for long.
If Eating the Same Day
Keep the lid closed after cooking to help the rice stay warm and moist.
Refrigeration
Store leftover rice in an airtight container.
Eat within 1 to 2 days.
To reheat:
- Sprinkle a little water over the rice.
- Microwave while covered.
This helps restore moisture.
Freezing
Japanese households often freeze individual portions.
Wrap each serving or store it in a freezer-safe container.
Freeze while the rice is still slightly warm.
When ready to eat, microwave directly from frozen.
This keeps the rice much softer than refrigerating it for several days.
Frequently Asked Questions
Yes.
A heavy pot with a tight-fitting lid works very well if you follow the correct water ratio and cooking time.
Yes.
However, sushi rice needs additional seasoning with rice vinegar, sugar, and salt after cooking.
Possible reasons include:
Too much water
Not washing the rice properly
Stirring while cooking
Usually because:
Not enough soaking time
Too little water
Heat was too high during cooking
Yes.
Many Indian home cooks use pressure cookers successfully. Cooking times vary by model, so follow your pressure cooker’s instructions for short-grain rice and avoid overcooking.
Bonus: Japanese Insider Tip
Many Japanese families let the cooked rice rest for about 10 minutes with the lid closed before fluffing it.
During this resting time, moisture spreads evenly throughout the rice. The grains become softer, shinier, and more evenly cooked without becoming wet.
This simple step is one of the easiest ways to make homemade rice taste closer to what you would enjoy in Japan.
Final Thoughts
Cooking Japanese rice at home might seem like a new challenge, but with just a few simple steps, you can enjoy authentic, fluffy, and glossy rice in your own kitchen. It’s the perfect base for your favorite dishes and a wonderful way to bring a taste of Japan to your table. Don’t be afraid to experiment with the water ratio or your preferred cooking method—give it a try and discover how rewarding a fresh, homemade bowl of Japanese rice can be!